Showing posts with label How it's done. Show all posts

Saturday, January 28, 2012

From my computer to paper to metal to paper

Print!
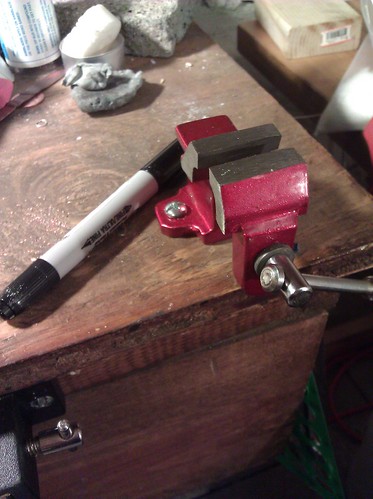
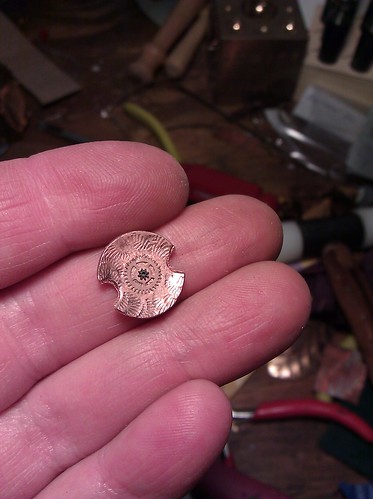
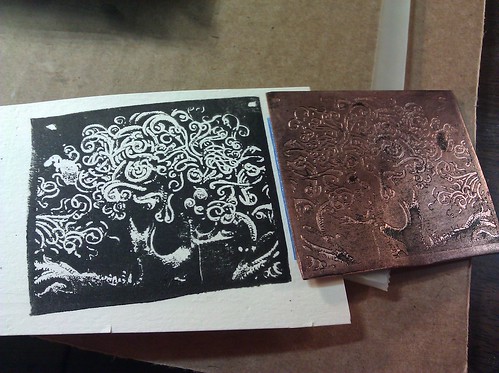
Look at this print! I've finally gotten the hang of transferring designs from my computer to metal, using this tutorial for the laster printer transfer process and the Edinburgh etching method. (The image I used for this example comes from Wikimedia Commons.)

Just being able to replicate computer designs nearly exactly on copper or brass is pretty exciting on its own. But using my trusty pasta machine as a printing press worked just as well as I'd been hoping. So neat!

You might wonder what the point is of printing a design on a laser printer only to transfer it to metal and then print it by hand. Well, I'm a process junkie, so my first answer is "It's just fun, OK?!"

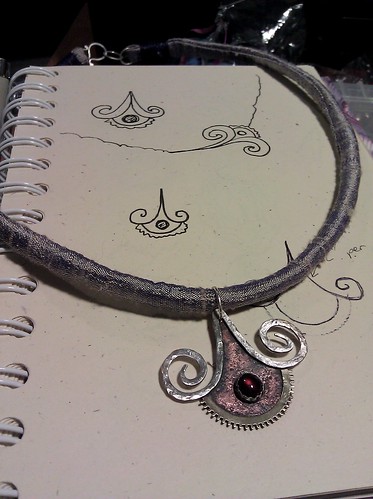
But there are some other reasons. The texture of this kind of print is just different--the metal bites into the paper a bit. There are opportunities to incorporate artsy layering of printed textures by etching a combination of computer designs and designs carved by hand. And if I wanted to, I could use fluorescent inks, glitter-laden inks, or play with inking with multiple colors for a handmade, one-of-a-kind print. All things you can't get from a standard laser printer. Then, when I'm done playing with printmaking, I could turn the copper into some sort of jewelry!

I feel like I suddenly have a whole new world of design and illustration at my disposal. Right now I'm wondering how to combine public domain medieval woodblocks with fractals and abstract shapes. What do you want to see me etch?

Thursday, March 31, 2011

Tools

I got a box of tools and sheet metal in the mail!

First, I want to show off this adorably tiny vise. Shown with a Sharpie next to it for scale:
IMG_20110330_224635.jpg
Isn't it so cute? I'm not entirely sure what it'll be good for yet, but it was about $5 and seems like it'll come in handy at some point--maybe for very small-scale fold-forming, or just as a "third hand" for holding things I'm working on once in a while.

I got a melting crucible that looks something like this:

I've tried salt casting before, and there are several other kinds of freeform casting that I'm also interested in trying and incorporating into jewelry. This crucible will help me play with molten silver more safely. And since silver prices keep going up, I'm really liking the idea of being able to recycle every bit of sterling scrap into more art.

The other tool I'm really excited about is this soldering tripod.
IMG_20110330_231047.jpg
The tripod supports a mesh, which supports the piece of jewelry, and you can point your torch at it from above or below. Notice how there are 4 pieces on the screen? This tripod means that I can solder groups of pieces in batches rather than one at a time--really good for simple things that benefit from a miniature production-line approach (like a few pairs of earrings that I want to be identical).

Here's how the earrings I started are shaping up so far, prior to patina, polishing, and adding earwires:
IMG_20110330_235658.jpg
I'm making them with the International Steampunk City festival in mind.

Monday, January 10, 2011

New pendant, and the process of making it

Last weekend, I designed and made a new pendant:

New pendant design

I also photographed most of the steps involved and the tools I used. I've put them together into a slideshow! I hope you enjoy this insight into my process.