I'm going to write a bit about the process of making some jewelry display frames for my
International Steampunk City table. At first I thought this would be a tutorial, but I kept improvising things and running out to CVS for a stapler and changing my mind about what fabric to use, so I realized it wouldn't be a great how-to. Instead, I'm just going to show some pictures I took, and talk about what I did and what was going through my head while I was working.
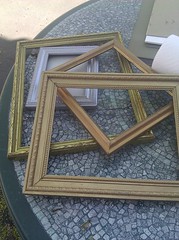
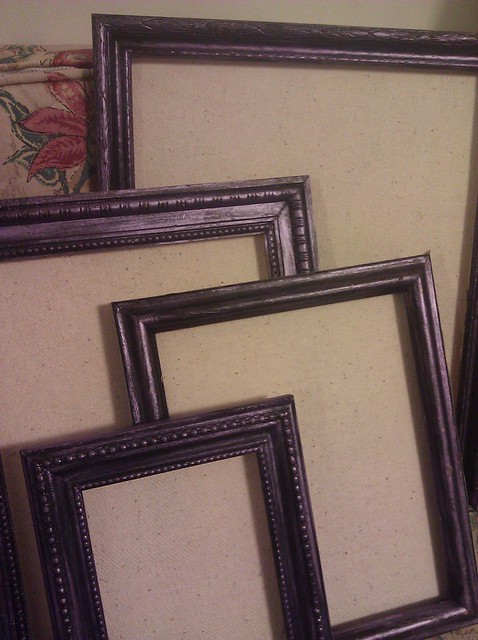
The plan was to make some display stands similar to
this tutorial, but using a coarsely-woven fabric instead of mesh for better visual contrast. I started with some pictures in frames from the local Goodwill. I removed the pictures from them and glued some shaky joints to shore them up. It was a nice sunny day and I'd just come home from brunch, so I decided to work outside in the back yard.
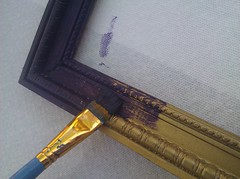
I wanted to mimic the faux-gold effect that some of the frames already had, but with purple, by painting a dark purple undercoat and then adding metallic purple highlights. I used the acrylic paint I had lying around from my mural-painting undergrad days. I like acrylic paint because it dries quickly, and in this case the fact that acrylic dries to a very dark color was desirable. As I got to work on the base coat, I noticed that the paint had a tendency to clump between the shapes on the frame, so I paid special attention to brushing those areas to avoid this.
While I was painting this undercoat, I thought a lot about purple. I realized that purple isn't just my favorite color--it's also a kind of metaphor or shorthand for my enthusiasm and excitement about things. It's why I'm so happy when I've recently redyed my hair and have random spots of purple on my arms. It's why I named this jewelry thing Purpleshiny--it's something I can always talk about with joy, and if there isn't that undercurrent of enthusiasm in what I'm doing, I'm Doing It Wrong. Lately, as I've been prepping for this show, I've felt a bit like my nearly-empty tube of purple acrylic paint--hoping that there's enough of me to go around, to make everything splendid. But there was enough purple paint for all of the frames, and I hope there's enough of my time, energy, and enthusiasm to get me ready for and through the show.
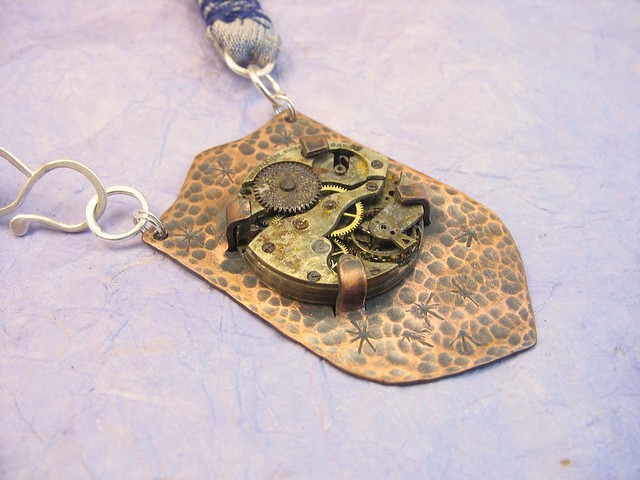
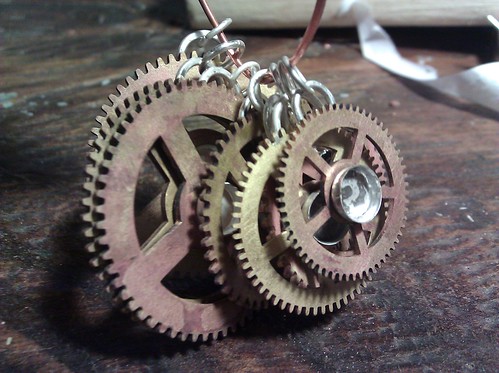
I also thought a bit about reuse and repurposing, which I do a lot of in my jewelry as well as in this project. Who am I to take watch parts and make them into some kind of earring? Who am I to take a frame someone else has already painted and paint over it? I don't know, but a part of me hopes that one day someone finds my repainted frames and says, "These will be perfect if I paint them green!"
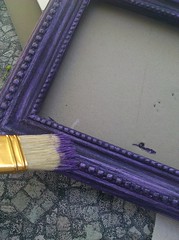
Anyway, then I mixed a very shiny batch of paint for a highlight/topcoat--it was a mixture of purple paint, silver paint, iridescent white paint, and two kinds of interference powder--one metallic and one iridescent. I used a mostly-dry brush to apply it glancingly to the frames, so that the highlight only touched the raised areas. This is a lot like an effect I used for clouds in several paintings in my dorm. My mural-painting past seems to have prepared me well!
Then came the part where I attached fabric to the frames. This meant I got to attack the backs of the frames with a stapler. I didn't get any pictures of that part, but it was really fun. I haven't wielded a stapler in several years, and I'd forgotten how satisfying the kaCHUNK of the staple going into the wood is. Also, I now know to only use frames made from soft wood in the future. One of the four frames was made from some kind of hard wood that staples and nails couldn't go into, so I used glue and tape instead. Seems like it might be less reliable, but I think it'll hold.
I'm so excited to have these frames to display jewelry! I know my copper pieces usually look best on a light background, and I'm glad I figured out a way to incorporate awesome purple colors while still using a light-colored fabric for the background. I still need to figure out a way to prop the frames upright, but I'm sure I'll come up with something.

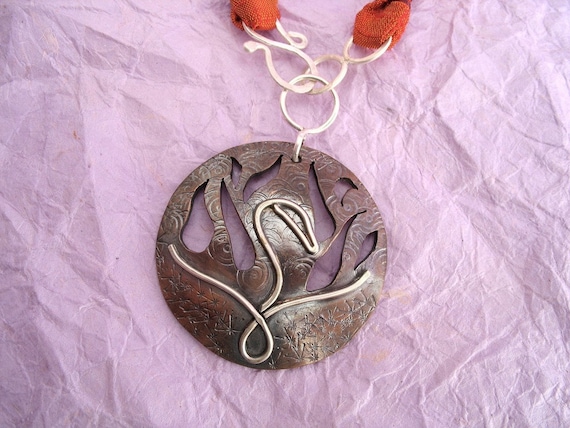
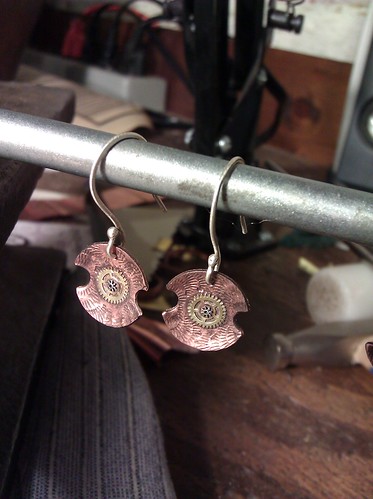
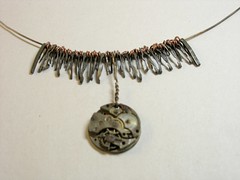
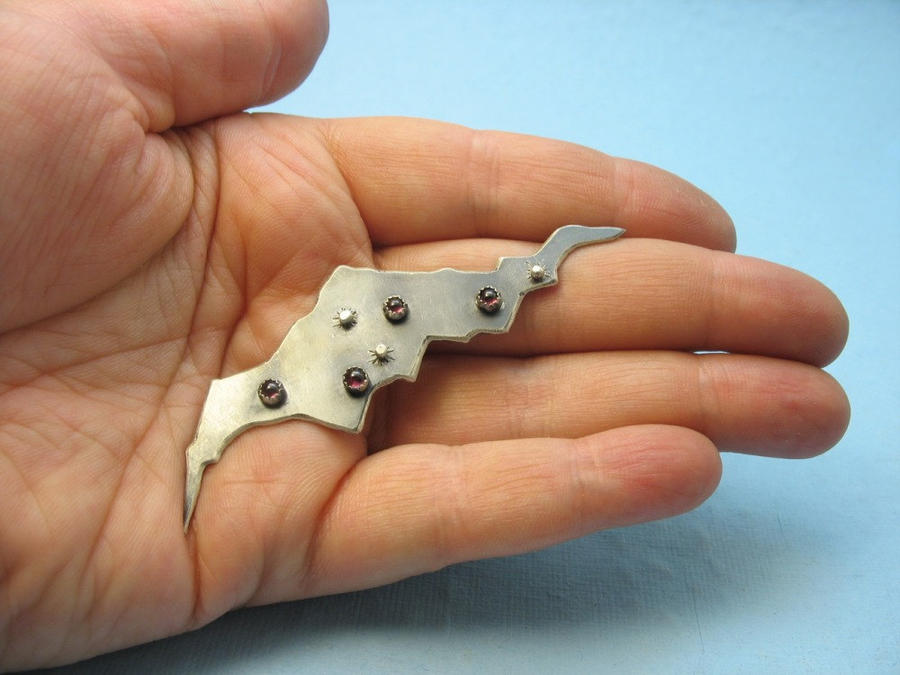
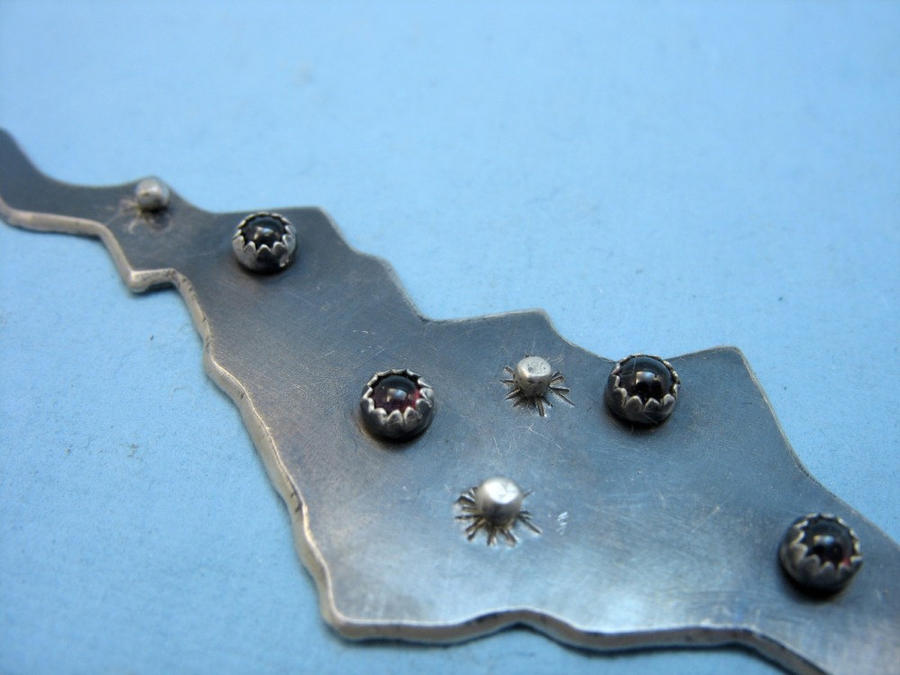
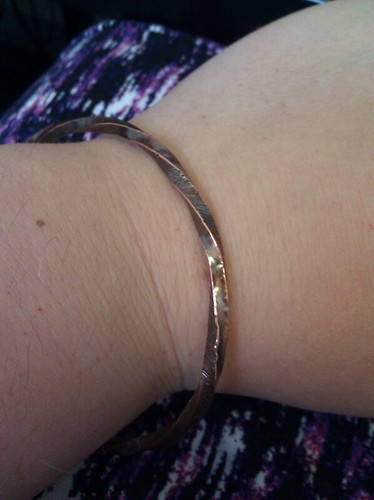 I made this bangle for myself a few days ago--I want to work on the finish to showcase the contrasting texture better, but I'm pretty satisfied with how it looks! I don't wear a lot of bracelets usually, but this one feels perfect, coordinating with both of the outfits I've worn it with so far. And I'm really happy with the shiny but patina-preserving finish that I can get with my jewelry tumbler! You just put steel shot and soapy water into the machine and leave it tumbling, and it polishes and strengthens the metal. Neat!
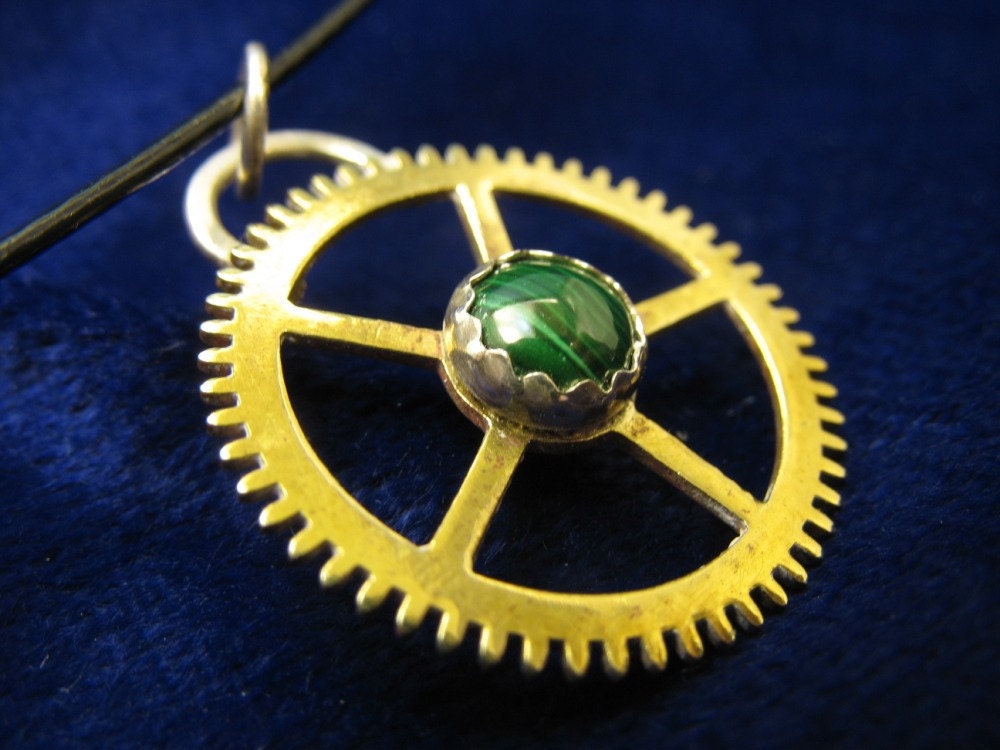

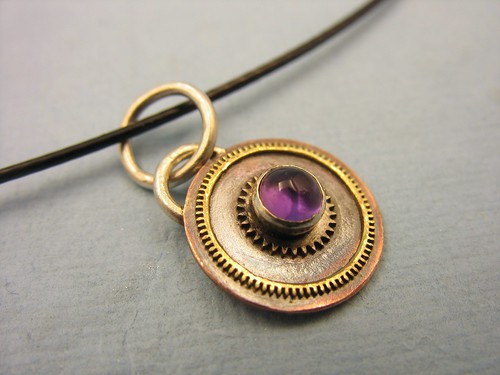
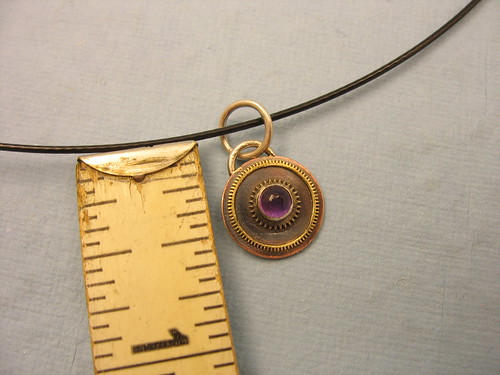
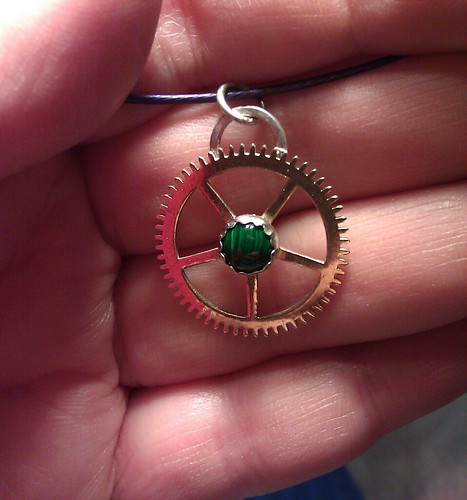
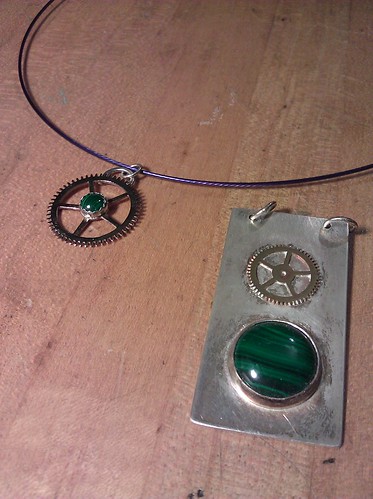
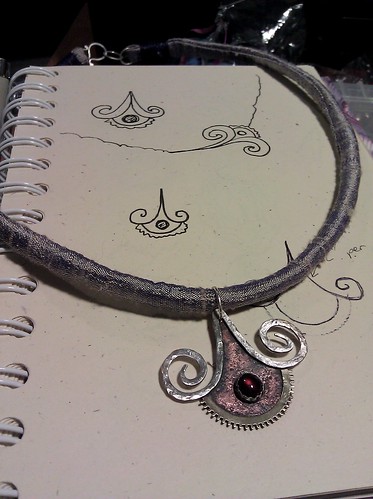
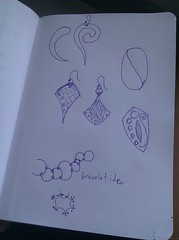 Most of my bench time right now has been focused on some custom orders, but I'm also thinking about new jewelry designs. I'm playing with ways to use some of the great gemstones in my stash as well as some of my silver scrap.
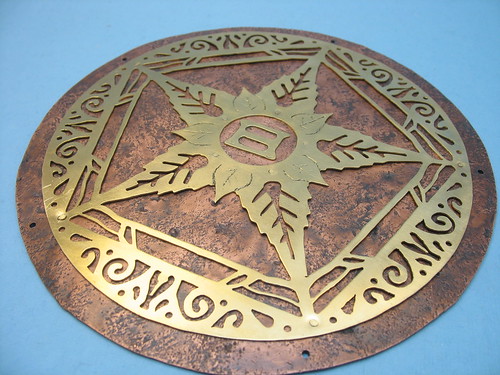


 Riven was an experience like Myst ten times over; a world much bigger, grittier, and realer than any fantasy world I'd seen before. Every surface showed the effects of weather, time, and wear; every puzzle existed for a logical reason; every aspect of the ecosystem fit together perfectly; every building bore the mark of its builder. I spent a wonder-filled week playing the game. Then, I wanted to know how it was done; I wanted to create real-feeling worlds like it. I pored over the "making of" video and learned to make my own computer graphics. In the end, I drifted away from 3D modeling, but the lessons about giving objects depth, texture, and a life of their own have stayed with me.